Instructions
Step-by-Step Guide to Installing and Activating Microsoft Visio
Microsoft Visio is a powerful diagramming tool designed for creating flowcharts, organizational charts, network diagrams, and more. Whether you’re a professional or a student, installing and activating Visio ensures you have access to its full range of features. This step-by-step guide will walk you through the installation process, activation methods, and troubleshooting tips to help you set up Visio quickly and efficiently. Follow these instructions to get started and make the most of your Visio experience.
1. Redeem Your Microsoft Visio Product
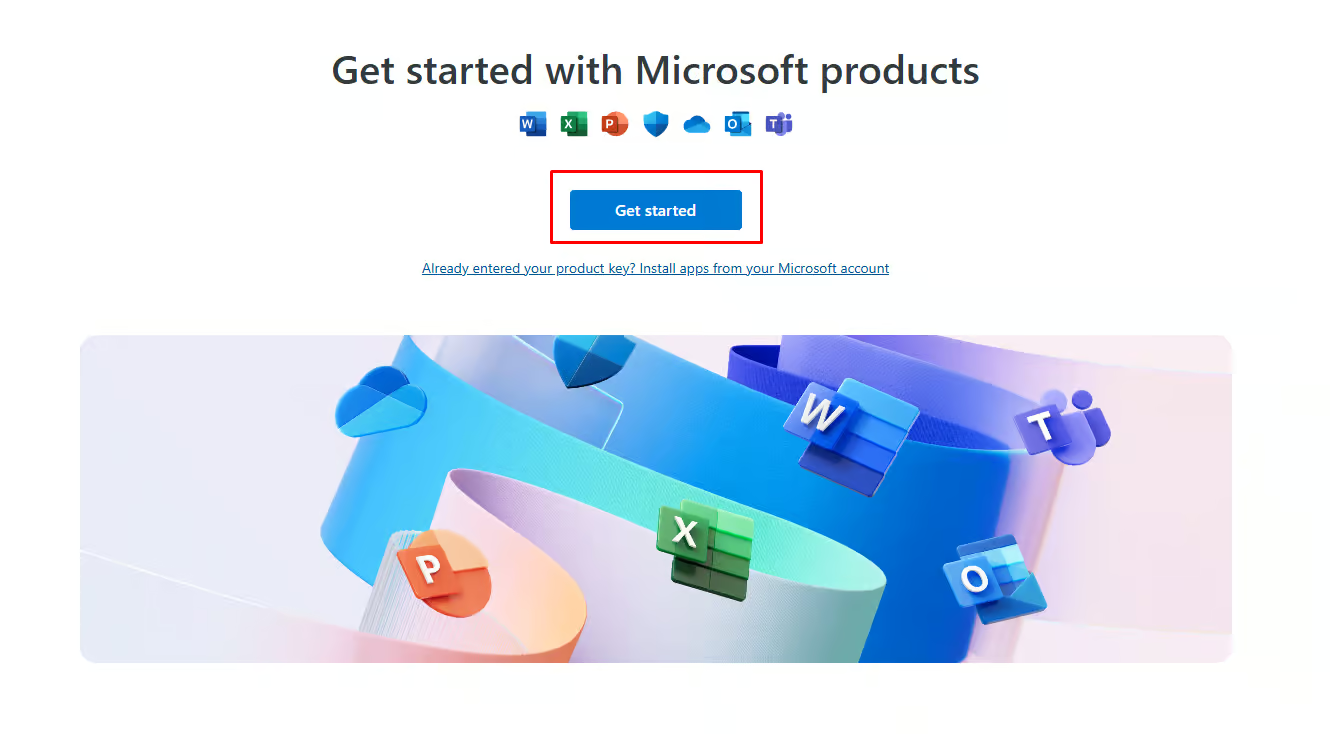
Go to https://setup.office.com and select ‘Get Started.’
- Sign in with your Microsoft account.
- Redeem your product key.
- Download the Visio software.
- *Note: For easy installation, you can download the Visio Professional Plus ISO file directly from the link below.
2. Setup Instructions for setup.office.com
After clicking “Get Started,” sign in with your Microsoft account and follow the steps below:
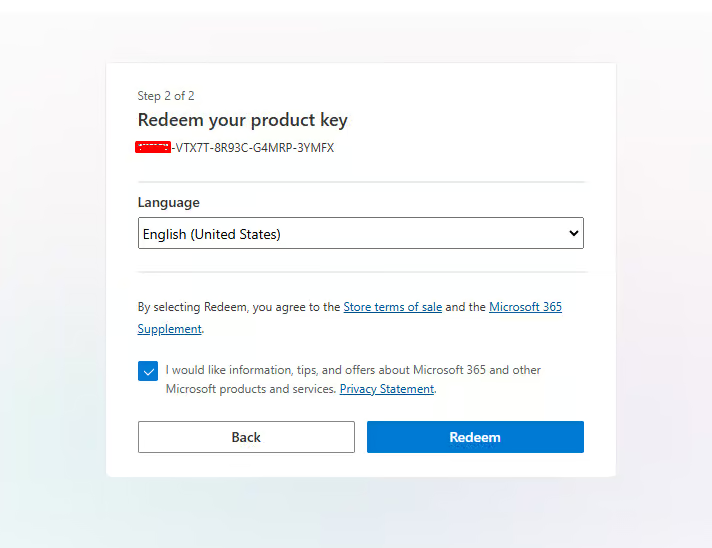
- Enter your Visio product key and click “Next.”
- Select your preferred language and click “Redeem.”
- The download will begin automatically. Once completed, open the setup file to start installation.
3. Activating Microsoft Visio
Once the installation is complete, follow these simple steps to activate Visio:
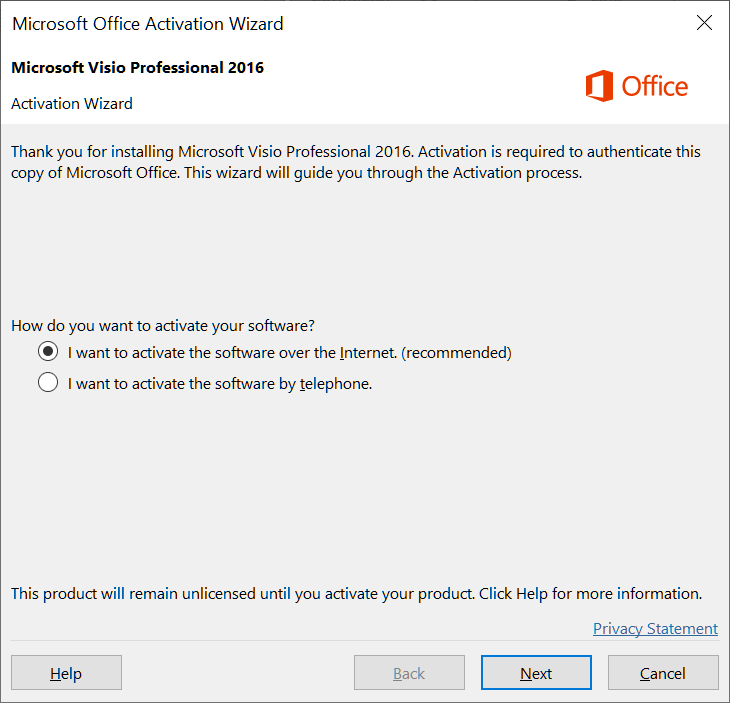
- Open Visio.
- The activation wizard will appear shortly.
- Select “I want to activate the software over the Internet” and click “Next.”
By following these steps, your Visio software will be activated and ready for use.
Troubleshooting and Activation Support
If you experience any issues during activation or need assistance, our support team is here to help. Reach out to us anytime via live chat at https://officedigital.io/ or email us at [email protected]. We’re available 24/7 to ensure a smooth setup process.