
Instructions
Step-by-Step Guide: Installing and Activating Visual Studio
Visual Studio is a powerful integrated development environment (IDE) used for creating applications across various platforms. It offers a wide set of tools for developing desktop, web, and mobile apps. This guide shows the installation and activation process, from downloading the software to activating your license, so you can start coding with Visual Studio.
1. Download and Install
Head to the official Visual Studio website at visualstudio.microsoft.com.
- Choose your preferred version of Visual Studio (such as Professional or Enterprise).
- Click the “Download” button to start downloading the installer.
- Once the download is complete, open the installer to begin the setup process.
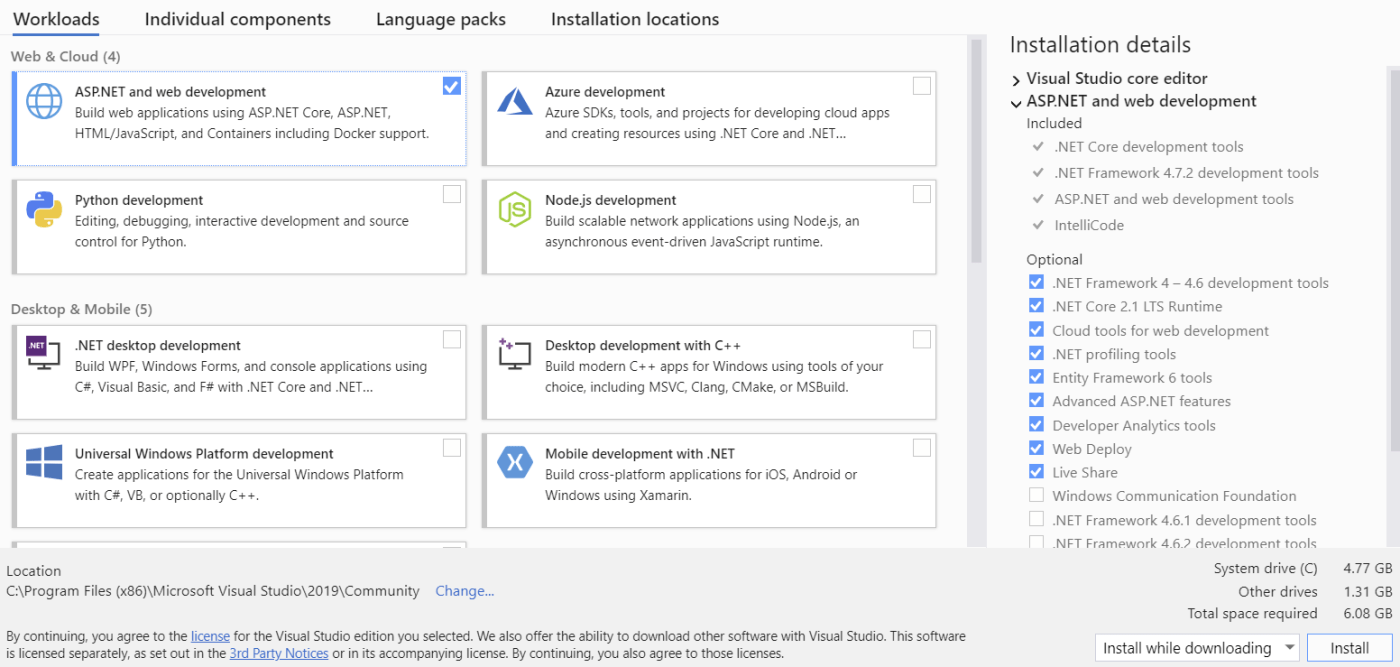
- During installation, you’ll be prompted to select the workloads you need for your development.
- After selecting, click Install. Be patient as the installation may take a while based on your selections and internet speed.
2. Activate
Once the installation is finished, launch Visual Studio.
- If it’s your first time opening Visual Studio, a prompt will appear asking you to sign in with your Microsoft account.
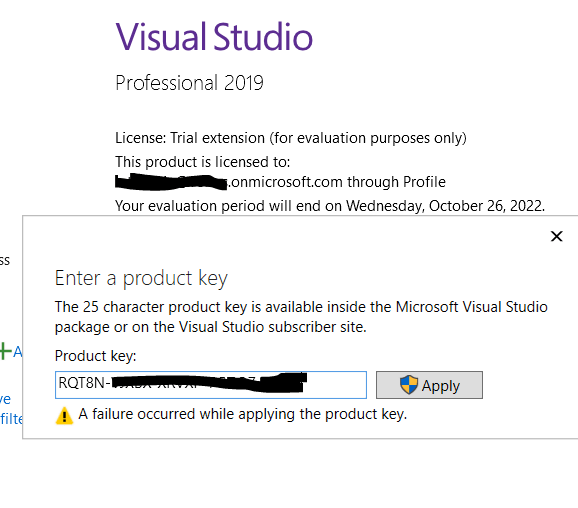
- If you have a product key, go to Help > Register Product, then input your license key to complete the activation process.
3. Update and Begin Development
To make sure your Visual Studio is up to date, go to Tools > Get Tools and Features.
- Select the Update option in the Visual Studio Installer to download and install any available updates.
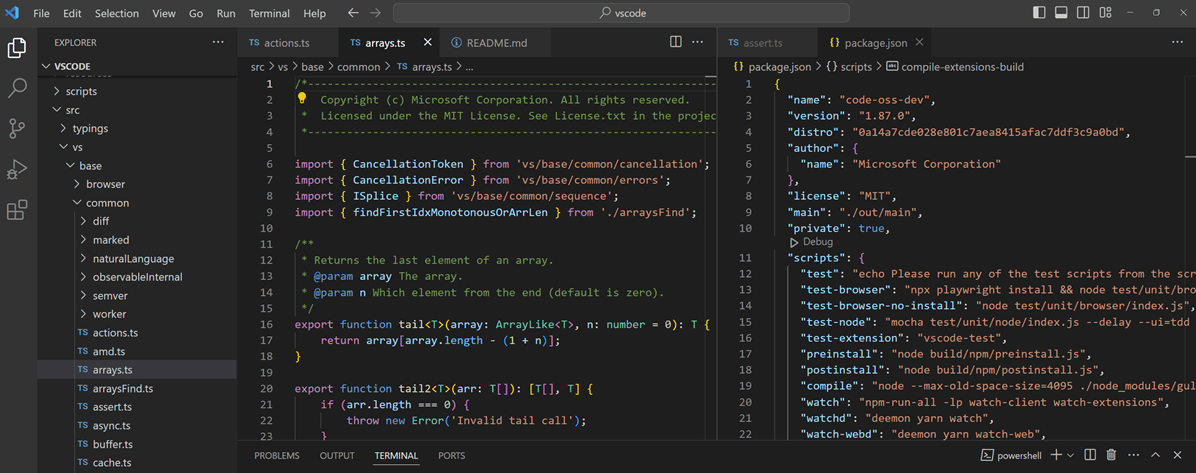
- Once updates are complete and your Visual Studio is activated, you can start developing.
- Start a new project by launching the New Project window, selecting a template, and starting to code.
Troubleshooting and Activation Support
If you experience any issues during activation or need assistance, our support team is here to help. Reach out to us anytime via live chat at https://officedigital.io/ or email us at [email protected]. We’re available 24/7.