Instructions
How to Enable BitLocker in Windows 11 Pro
Apr
If you want better protection for your files, one of the best built-in security features in Windows 11 Pro is BitLocker. BitLocker encrypts your drive, which helps protect your data if your laptop or PC is lost, stolen, or accessed offline. Microsoft describes BitLocker as a Windows security feature that protects data by encrypting drives, making offline access to the contents much harder.
For many users, BitLocker is one of the main reasons to choose Windows 11 Pro instead of Home. In this guide, you will learn how to enable BitLocker in Windows 11 Pro, what you need before you start, how to back up your recovery key, and what to expect during the encryption process.
What Is BitLocker in Windows 11 Pro?
BitLocker is Microsoft’s built-in drive encryption feature. It is designed to protect your files by encrypting the data stored on your drive.
What BitLocker does
When BitLocker is enabled, the files on your drive are encrypted. That means if someone removes the drive and tries to read it from another system, the contents are protected. Microsoft’s end-user BitLocker overview explains that this helps prevent data exposure when a device is lost, stolen, or accessed outside the normal Windows sign-in process.
Why BitLocker matters
BitLocker is especially useful if you:
- use a laptop for work or travel
- store personal or business documents on your PC
- want extra protection beyond your Windows password
- need a professional security feature included with Windows 11 Pro
BitLocker vs Device Encryption
Before enabling BitLocker, it helps to understand the difference between BitLocker and device encryption.
BitLocker in Windows 11 Pro
BitLocker gives you fuller control over drive encryption and management. Microsoft’s support and documentation position BitLocker as the more advanced encryption option available in Pro editions and above.
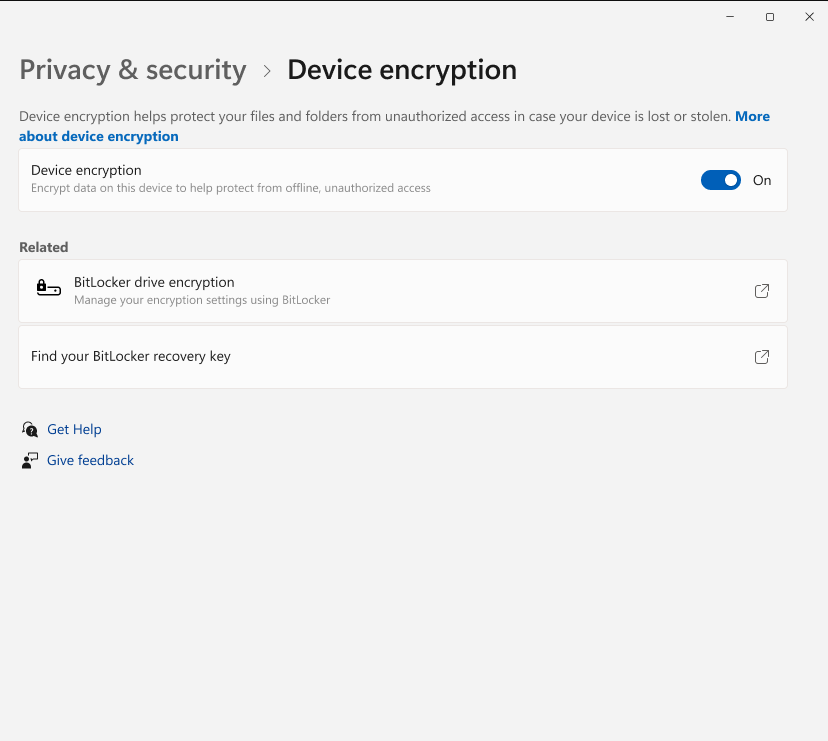
Device encryption in Windows
Microsoft also offers device encryption, which is a simplified encryption experience that can automatically protect the operating system drive and fixed drives on supported devices. That feature is separate from the full BitLocker management experience and is documented on Microsoft’s Windows support site.
What You Need Before You Enable BitLocker
Before you turn on BitLocker, there are a few things you should check first.
1. Windows 11 Pro
BitLocker is a Pro-level feature. If you are using Windows 11 Home, you may not see the same BitLocker management options. Microsoft’s guidance distinguishes BitLocker from simplified device encryption, and its Windows 11 Pro materials highlight Pro-specific security capabilities.
2. A supported drive setup
In most normal Windows 11 Pro setups, BitLocker can be enabled without any special manual partition work. On some systems, hardware configuration and security settings may affect how encryption behaves.
3. Your recovery key backup plan
This is the most important step. When BitLocker is enabled, Microsoft prompts you to back up your recovery key. Microsoft’s support article explains that recovery keys can be stored in places such as your Microsoft account, a work or school account, or a printout, depending on the option used during setup.
4. Enough time for encryption
Microsoft notes that the encryption process can take some time, although you can continue using the device while it runs.
How to Enable BitLocker in Windows 11 Pro
If your PC is running Windows 11 Pro, the built-in BitLocker interface makes the process fairly straightforward.
Step-by-Step Guide to Turn On BitLocker
Step 1 – Open BitLocker Drive Encryption
Search for BitLocker in Windows search and open Manage BitLocker, or open the BitLocker Drive Encryption area through Control Panel.
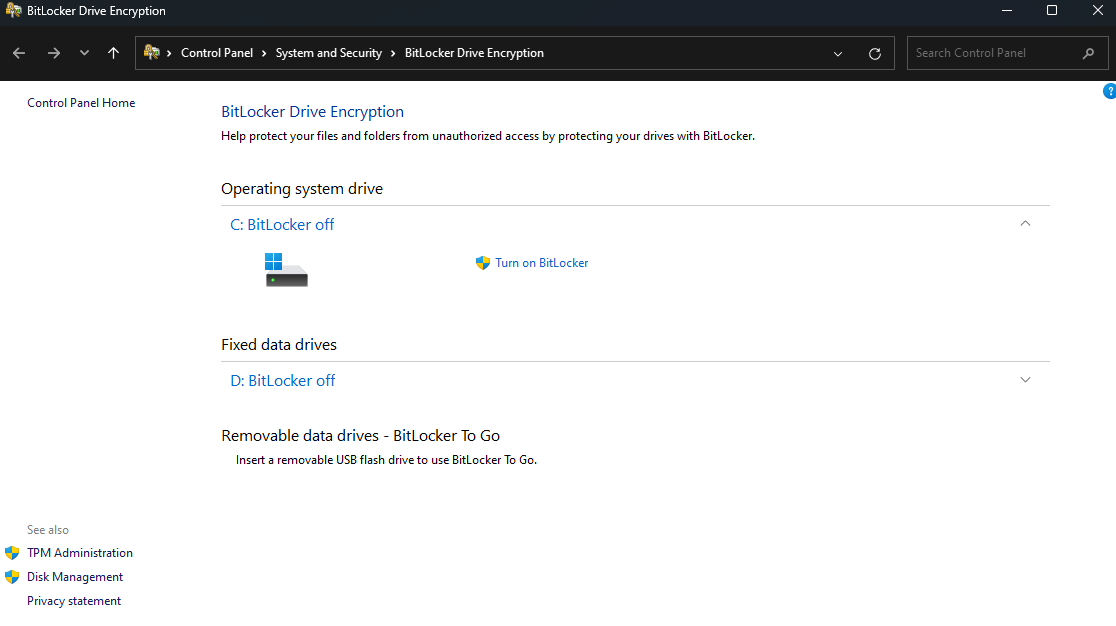
Step 2 – Find the drive you want to encrypt
You will see your operating system drive and, depending on your setup, possibly other internal or removable drives.
Step 3 – Select “Turn on BitLocker”
Microsoft’s support page says that to enable encryption, you should select Turn on BitLocker next to the drive you want to protect.
H3: Step 4 – Choose how you want to unlock the drive
Windows will guide you through the available unlock options for that drive. The exact choices can vary depending on the device and drive type.
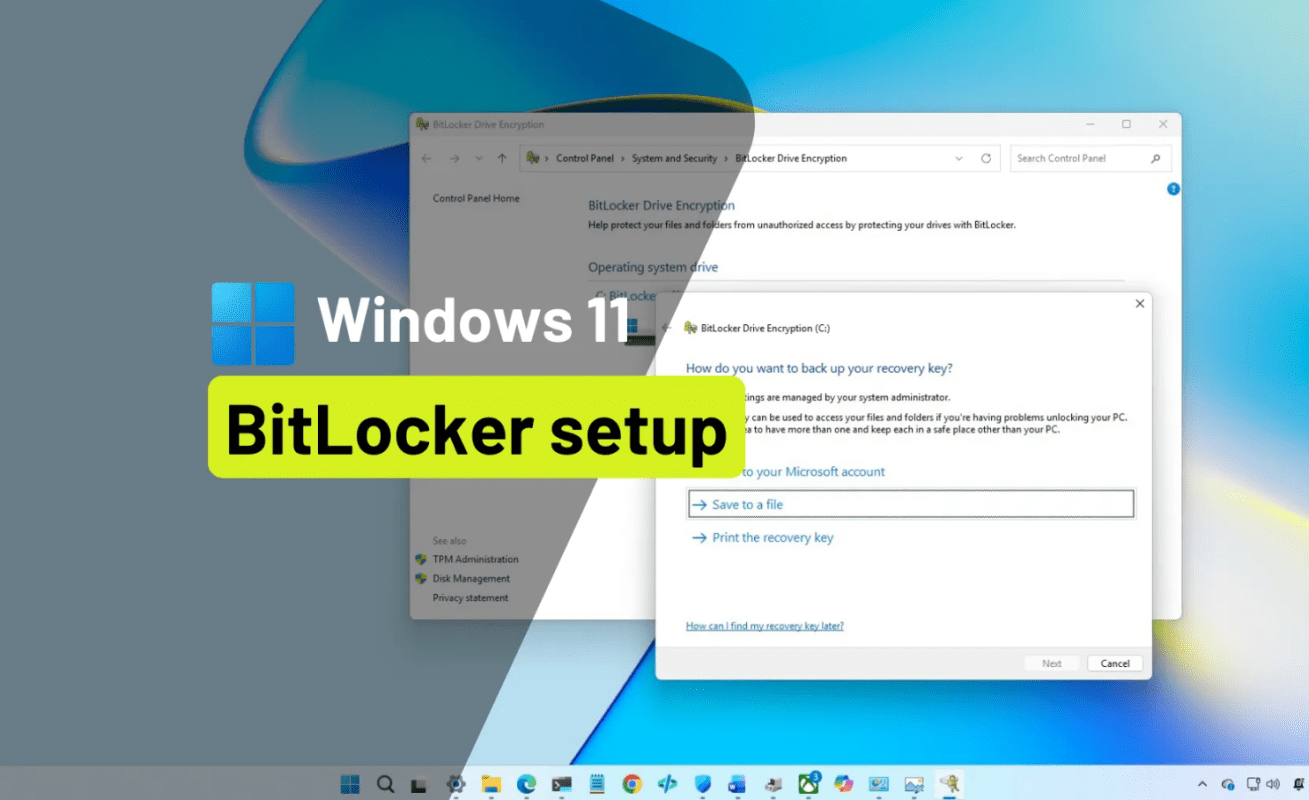
H3: Step 5 – Back up your recovery key
This is a critical step. Microsoft explicitly says you should back up the recovery key when turning on BitLocker. You may be able to save it to your Microsoft account, save it to a file, or print it, depending on the setup flow.
H3: Step 6 – Start encryption
After you confirm the settings, the drive begins encrypting. Microsoft says the process can take some time, but you can continue using your device while encryption is in progress.
Why the Recovery Key Matters So Much
This section is important for both SEO and user trust.
You may need it after hardware or security changes
If Windows asks for your BitLocker recovery key, you must use the correct key to unlock the drive. Microsoft’s recovery guidance explains that the key ID shown on the recovery screen helps you identify which saved recovery key to use.
Where you might find your recovery key
According to Microsoft, your BitLocker recovery key might be stored in:
- your Microsoft account
- a work or school account
- a saved file
- a printout you created during setup
Microsoft provides separate recovery-key lookup paths depending on how the key was backed up.
Should You Enable BitLocker on Every Device?
For many users, yes – especially on portable devices.
Good cases for BitLocker
BitLocker makes a lot of sense if you:
- use a laptop outside your home
- keep sensitive documents on your PC
- store business files, invoices, or client information
- want stronger protection if the device is lost or stolen
Cases where users should be more careful
If you do not manage your recovery key properly, recovery can be frustrating later. BitLocker is very useful, but only if you take the recovery-key step seriously.
If you need BitLocker, Remote Desktop, or Hyper-V, you can activate those Pro features with a Windows 11 Pro key from Office Digital.
FAQ
Is BitLocker available in Windows 11 Home?
Microsoft distinguishes BitLocker from device encryption. Full BitLocker management is associated with Pro and higher editions, while device encryption is the simplified option documented for supported Windows devices.
How do I turn on BitLocker in Windows 11 Pro?
Open Manage BitLocker, choose the drive, select Turn on BitLocker, choose an unlock method, back up your recovery key, and start encryption. Microsoft’s support steps follow that same flow.
How long does BitLocker take to encrypt a drive?
Microsoft says encryption can take some time to complete, although you can continue using the device while it progresses.
Where is my BitLocker recovery key stored?
Microsoft says the recovery key may be stored in your Microsoft account, work or school account, a saved file, or a printout, depending on how it was backed up during setup.
Is BitLocker worth enabling?
For most laptops and many work devices, yes. It adds strong protection against offline access to your files if the device is lost or stolen, which is the main purpose Microsoft describes for BitLocker.